Apps

Broadband @ HomeConnected @ HomeConnected BusinessHome OfficeSocial
Have You Tried a Google Hangout?
If you are looking for a modern communication platform suitable for video, text messaging, and more, you might want to…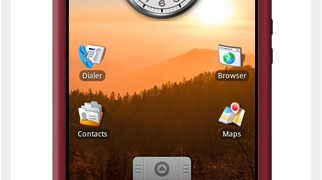
Broadband NewsProducts
Setting a Parental Lock on Android Depends on the Version
You just discovered a few hundred dollars worth of in-app purchases from a popular Android mobile video game. The likely...
Broadband NewsProducts